- Camping Tips
- Hiking Tips
- RV Camping
- Destinations
- Blog
- Gear Reviews
Broadly speaking, trekking poles come in two main types that include fixed-length poles and adjustable-length poles. Learning how to use trekking poles while hiking goes hand in hand with knowing how long the poles should be.
Poles with adjustable lengths are highly recommended as you can fine-tune them according to your height and the given terrain. However, it’s not all about the length of the poles. Aside from picking the best trekking poles, you’ll still need to apply a few measures to make the most of walking with poles.
This includes learning how to properly use the wrist straps and how to plant your poles.
Nordic walking offers benefits such as increasing your walking pace and rhythm, improving overall stability over most terrains, improving weight distribution across the body, increasing upper body muscle activity, and lowering the strain on knees and joints.
All of which sounds like good-enough reasons to learn everything about trekking poles, don’t you think?
Well, it depends ...
The optimal pole length depends on two main factors; the type of terrain and the arm positioning or your height.
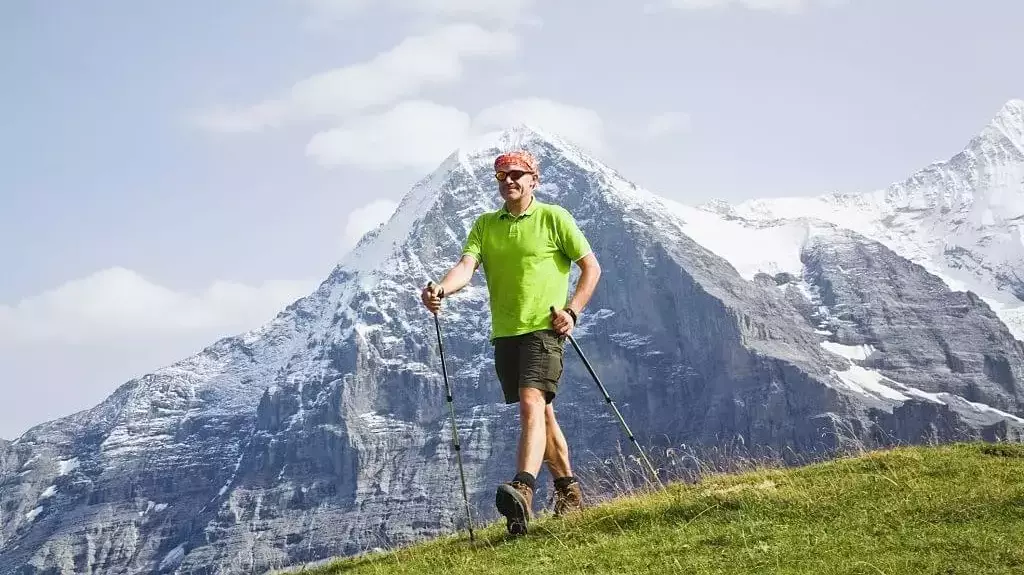
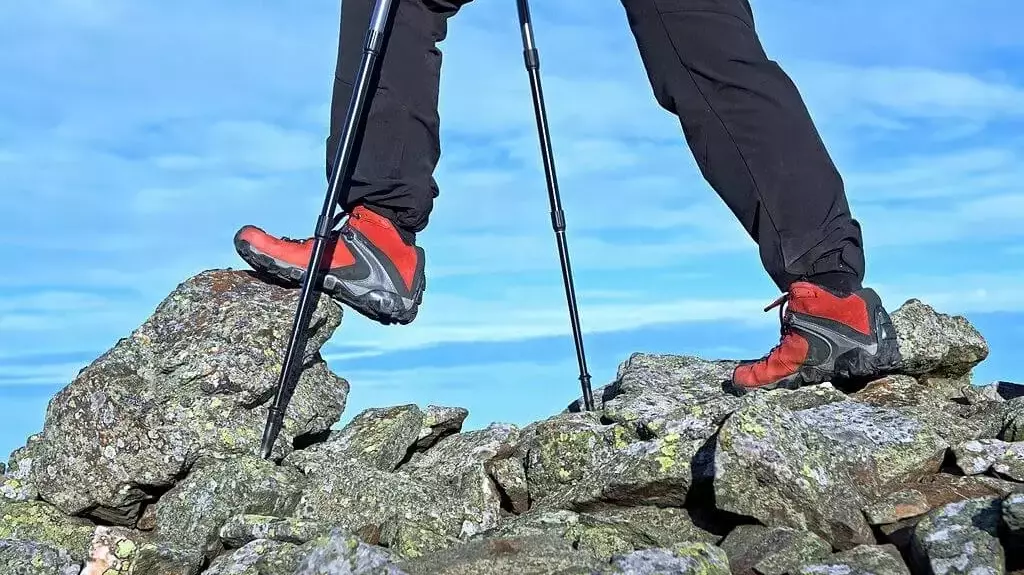
A long-held agreement among hiking connoisseurs is that the length of the pole should be that which allows your elbows to be bent at about 90 degrees when holding the pole. The pole tips should be on the ground and near your feet.
When you need to push down on the hiking poles for support and stability, the 90-degree positioning provides the much-needed leverage.
With that in mind, you can adjust the length of the pole accordingly as you tackle different route profiles. Also, you’ll want to start with the following conventions for the best results:
| Your Height (ft. in.) | Your Height (cm) | Pole Length (cm) |
| 4'0" | 122 | 83 |
| 4'1" | 124 | 85 |
| 4'2" | 127 | 86 |
| 4'3" | 130 | 88 |
| 4'4" | 132 | 90 |
| 4'5" | 135 | 92 |
| 4'6" | 137 | 93 |
| 4'7" | 140 | 95 |
| 4'8" | 142 | 97 |
| 4'9" | 145 | 98 |
| 4'10" | 147 | 100 |
| 4'11" | 150 | 102 |
| 5'0" | 152 | 104 |
| 5'1" | 155 | 105 |
| 5'2" | 157 | 107 |
| 5'3" | 160 | 109 |
| 5'4" | 163 | 111 |
| 5'5" | 165 | 112 |
| 5'6" | 168 | 114 |
| 5'7" | 170 | 116 |
| 5'8" | 173 | 117 |
| 5'9" | 175 | 119 |
| 5'10" | 178 | 121 |
| 5'11" | 180 | 123 |
| 6'0" | 183 | 124 |
| 6'1" | 185 | 126 |
| 6'2" | 188 | 128 |
| 6'3" | 191 | 130 |
The suggested pole lengths are guided by average human body proportion measurements and also adapted from manufacturers’ recommendations. The length between the elbow and feet (extrapolated pole length) is about 63% of the full height of an average adult human. Thus, an upper limit factor of approximately 0.68 is used to estimate the optimal pole length.
However, feel free to adjust the pole shaft as you please for a custom fit as body types and heights may vary.
Each terrain has its challenges and you’ll want to be using the trekking poles at their correct height at all times for maximum effectiveness. Up next, we’ll focus on how to adapt to the four main terrains, which include flat grounds, ascents, descents, and uneven terrains.
Pole length adjustments are made easy by the markings on the shaft as well as the various locking mechanisms in the given pole. The mechanisms include external lever/clasp locks, twist locks, push-button locks, or combination locks.
You should familiarize yourself with how to adjust the pole lengths beforehand for a better experience outdoors. For multi-section telescoping poles, try as much as possible to adjust the length proportionately so as not to put too much strain and torque on a single joint.
During hikes, some trekkers will find it easier to do all the fine-tuning with only the top section. So, feel free to adopt a favorable approach of doing the adjustments without compromising the structural integrity of the poles.
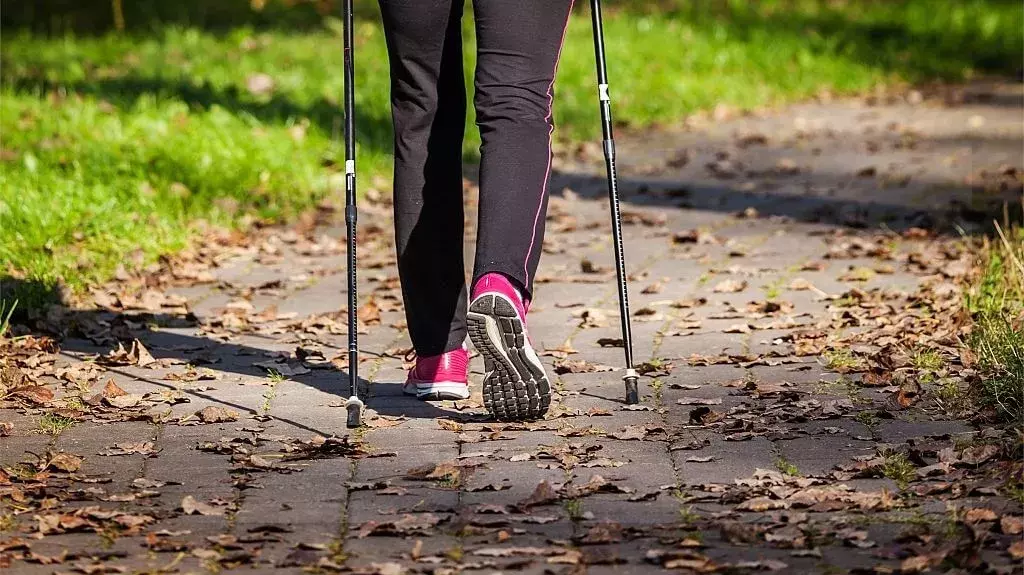
When walking on flat terrains, you’ll most likely have to adjust your pole length once. Follow the 90-degree rule to bring the pole to the perfect length. Further adjustments to the pole length should only occur when you start hiking on steeper declines or inclines.

When going uphill or up the stairs, you will need to shorten your poles by about 5-10cm or as needed. The shorter pole length allows for more secure plants and leverage as you go up the slopes. You should shorten the trekking poles further if you feel like they’re pulling you up the hill.
Always plant your trekking poles close to your feet and body for a natural ascension up the hill. This technique ensures that your shoulders stay in a natural position without feeling strained by the backpack straps.
When walking up a stairway, seek to push rather than pull yourself up the stairs. Apply the technique above by planting the poles next to your feet, stepping up, and bringing the hiking poles up next to your feet, and so on.
Going down a hill, scree or stairways requires some braking action and balance. Thus, you want your poles to be longer than usual by about 5-10cm and your hands to be out of the wrist straps to limit entrapment.
Double-check that the poles are securely locked in place so that they don’t retract during mountain descents.
You’ll also want to plant your poles ahead of you for better stability and braking action. Keep the poles ahead of you at all times to reduce the risk of tripping over them or losing balance. Steeper declines may require you to zigzag back and forth the pathway until you get to the base.
By adhering to the 90-degree rule, you’ll most likely maintain a proper gait, balance and overall comfort regardless of the gradient of the terrain. The poles will also help reduce the strain on your knees and joints when carrying a heavy backpack.
When navigating across uneven terrains, adjust each pole according to the gradient of the section where you’ll plant it. Extend the length of the pole on the downhill section and shorten the pole on the uphill section.
Such balanced pole lengths will ensure comfort and balance as you trek on to your camping destination.
Lastly, to prevent tripping over poles when making a turn, always keep them at your sides rather than crossing the hiking poles in front of you.
To unlock the true potential of hiking poles, you’ll need to incorporate other practical measures to go hand-in-hand with applying the right pole length. Elementary skills such as knowing how to grip the pole handle or how to plant your poles can go a long way in improving your hiking experience.
Speaking of which, below are some of the key lessons to take home (or outdoors):
Firstly, most hiking poles have ergonomically-designed grips that feature a 10- to 15-degree corrective angle and suitable grip material. The angle allows your wrists to stay in a comfortable and neutral position as you hit the trails.
The materials making up the handle may include cork, rubber, foam, plastic, or wood. All the materials have their strengths and weaknesses given the weather conditions and desired output. For instance, cork is preferred for its conforming fit, moisture resistance, and shock absorption.
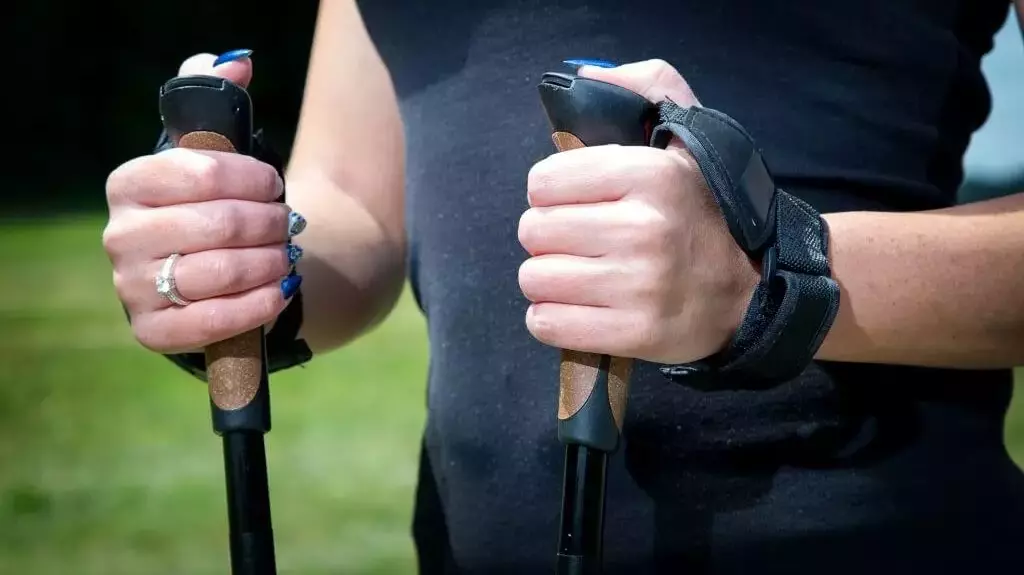
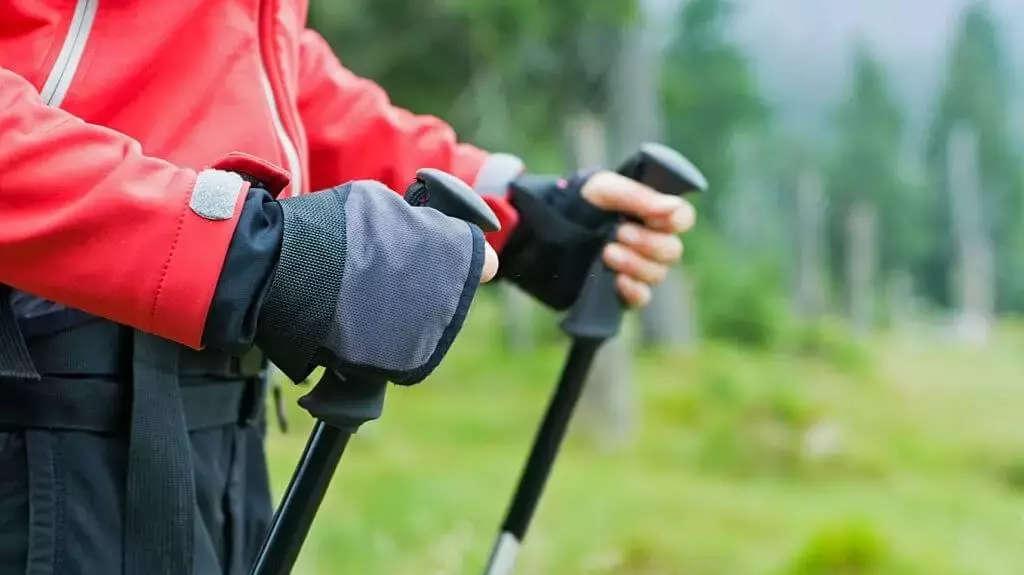
Gripping the pole handle starts with bringing your hand up and through the wrist strap. The strap should rest over the back of your hand with your thumb just over the strap. You can make adjustments to the straps for a snug, secure fit.
The positioning of the wrist straps allows for quick releases without dropping the poles aka the dangling action. You’ll also be able to use your hands easily for that quick snack break or selfie photo.
The hold on the pole handle should feel relaxed as you don’t need much effort to move the poles forward. Your hands and wrists will tire quickly if you hold the grip too tightly. Plus, be sure to alternate where you place your fingers on the grip to prevent soreness and sweating.
There are three main ways you can move your hiking poles namely; double poling, alternating poles and parallel pole motion.
Using a swing and drop motion, the double poling technique allows you to move both poles forth at the same time. You then follow up the poles with a few steps forward. Such a motion allows for better stability and maneuverability during ascents/descents of sharp winter slopes and uneven terrains.
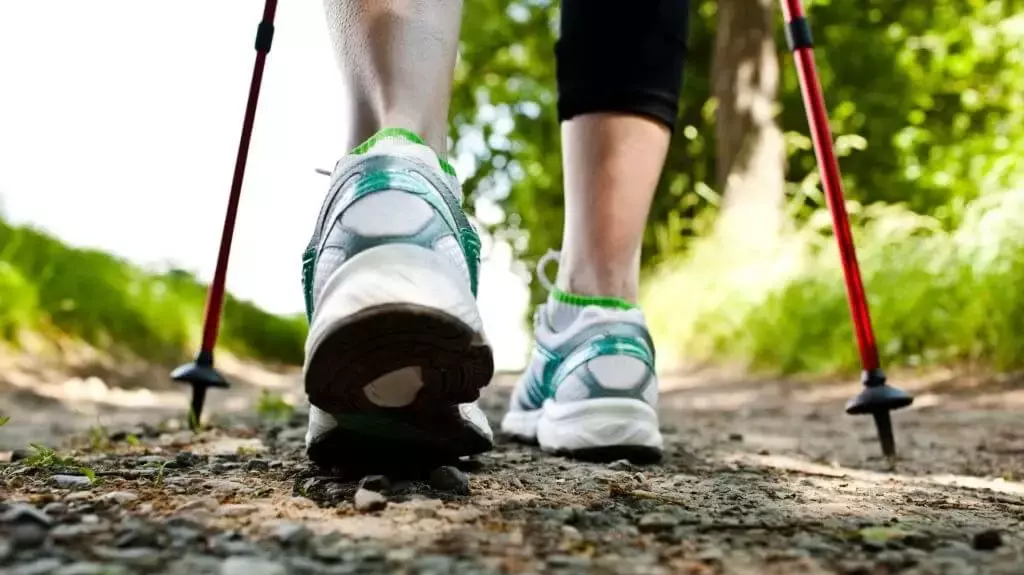
Next, alternating your poles and legs is the perfect way to improve your hiking pace and rhythm. The motion follows a left foot/right pole, right foot/left pole, etc. pitter-patter along the trail.
The technique seeks to mimic how you naturally walk but with better balance and arm motion.
Lastly, with parallel motion, you move your leg and the same-side pole forward to help relieve joint pain and muscle fatigue.
Trekking poles are an integral part of any hiking expedition. Better balance and stability, full-body workout, and reduced injuries are just some of the many benefits you get from using trekking poles during hikes.
It’s no surprise that trekking poles have grown in popularity over the recent years. So, do yourself a favor and learn how to use and size them correctly. Else, there are over 88,000 miles of exciting trails awaiting you out there.
Charlie Leone
Website Owner/Editor
Welcome to CampingManiacs