- Camping Tips
- Hiking Tips
- RV Camping
- Destinations
- Blog
- Gear Reviews
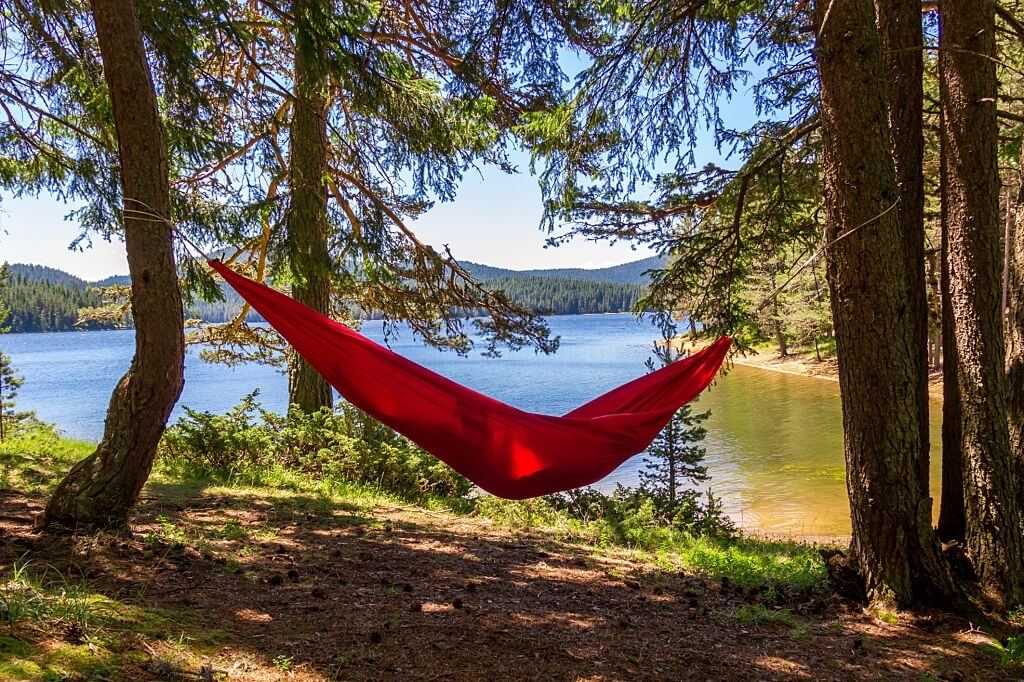
Chances are that you landed here after learning the many benefits hammocks offer to outdoor enthusiasts as compared to tents and other options. It has been long established that setting up a hammock adheres to the Leave No Trace Principles more than pitching a tent.
Hanging up a hammock doesn’t require clearing the grounds. Plus, if you use tree-friendly suspension systems, there will be little impact left on the barks of the trees (read environment).
However, the one tricky part about hammocks is ensuring they hang just right for comfort safety, and finding two anchor points for your hammock.
While most hammocks will come with easy-to-follow installation instructions, there’s still a lot that needs to happen before and after setting them up.
Hammocks come in two main styles namely the traditional banana-style hammock with gathered ends and the more modern bridge-style units with spreader bars. Despite their complexities, you only need to follow a few common guidelines to achieve the ultimate hang with either of them.
Ideally, you will need to pick a nice spot with the right trees and then ensure that you suspend the hammock with a 30-degree angle slack. The slack is necessary to allow for a flatter sleeping surface and it makes for a good comfortable swing seat.
If you suspend the hammock too taut, it will wrap around you more tightly with tensioning in the sides resulting in a constricting experience.
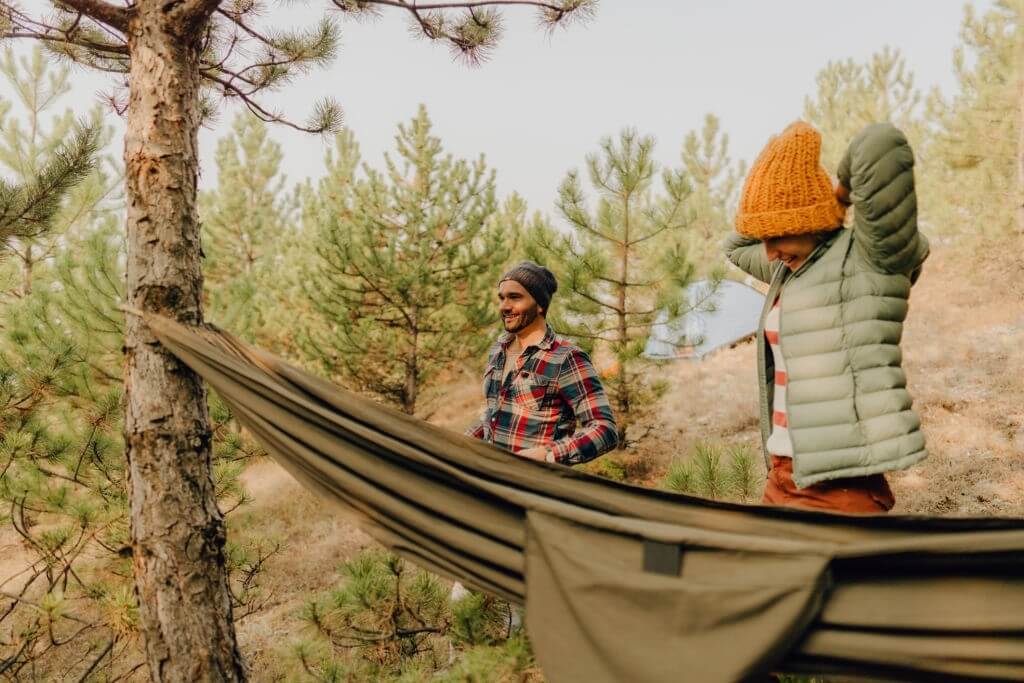
As with most successful outdoor adventures, proper planning and preparation are of utmost importance. Before setting out for your hammock camping trip, you will need to ensure you have all the necessary supplies.
Learning a few basic skills such as how to tie certain knots or even how to pick the right location will go a long way.
Aside from the hammock, you will need your suspension system and other gear necessary for a typical camping trip.
The suspension system will include straps or ropes to go around the tree and carabiners to connect the system to your hammock. You will want to go for tree-hugger or tree-saver webbing straps to minimize the risk of damaging the tree’s bark.
The straps might have weight capacities ranging from 150 to 250 pounds. But most importantly, they should be about 0.75 to 1.5 inches as recommended by the Leave No Trace Center for Outdoor Ethics.
Although frowned upon, you may also use paracords or ropes as a last resort. Wrapping the ropes around the tree a couple of times might help distribute the weight across the area and in effect lessen the overall impact on tree barks.
You will also need carabiners – either the heavy-duty steel hardware ones or most preferably the lightweight aluminum climbing options. Instead of carabiners, some people might prefer working with whoopie slings and whoopie hooks, cinch buckles, Dutch clips or descender rings.
Other camping essentials like a rainfly or a tarp, bug netting, sleeping pad, pegs, guylines, and hammock underquilts will also come in handy in making your outdoor experience more enjoyable.
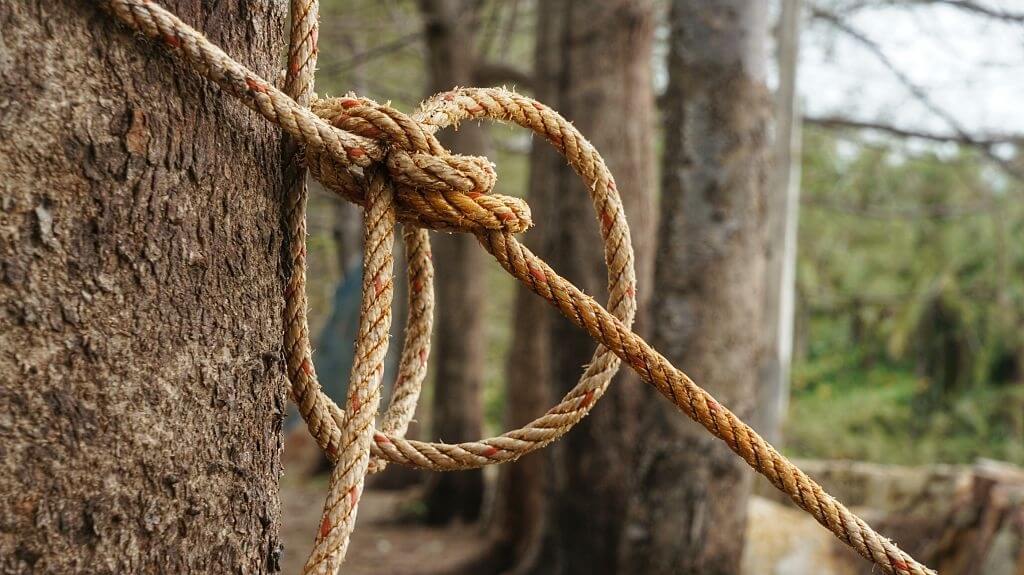
While you might get away with only using carabiners for all the connections, using a few simple knots instead could save some weight and money.
Refresh your memory on a few basic hitches such as the classic slip knot and the girth knot. Or, study on the more resourceful Marlinespike hitch or other fancy options like the Becket hitch and sheet bend knot. Ideally, these types of knots connect your hammock to the suspension system securely without the need for permanent knots.
Some knots will be far easier to undo when adjusting or tearing down the hammock system. The Ashley Book of Knots, which is an encyclopedia of knots, should be a good resource to start your knotting crash course.
First things first, always check with the local land managers on whether hanging hammocks is permitted in the area.
If permitted, ensure your hammocking spot is about 200 feet away from a water body to prevent harming those fragile habitats. Your chosen pair of trees should be in an area with little to no vegetation or in established sites.
To avoid potential injuries to you or other parties, avoid setting up the hammock across pathways either used by humans or animals.
You will also want to avoid unhealthy trees or those with dead branches (yes, widowmaker is a thing, and a deadly one for that matter). To learn more about camping safety, check out our safety guide.
Importantly, the pair of trees should have a minimum diameter of six inches and be about 12 to 17 feet apart. On the same note, stick to only hanging one hammock per pair of trees to avoid straining the trees too much.
It is generally recommended that you always camp below the tree line for your safety. However, if you are an urban camper, then most likely there will be no trees available to hang your hammock. Luckily, you can improvise with few options below.
Some rocks and large boulders could suffice as support systems to hang your hammock from. Or, you may also consider using suitable fence posts and telephone poles to act as inexpensive tree-like support systems.
Other options you can hang your hammock from include vehicle-anchored stands, portable hammock stands, hammock-hanging structures, bridges, and buildings.
Whichever option you go for, always make sure that it can support your weight.
As we earlier foreshadowed, the hammock-hanging process is 90-percent about affixing the suspension system. In this regard, you will most likely deal with either a basic rope system or a more specialized webbing strap suspension system with added accessories.
A good method to test the slack of the hammock is using the finger gun hand gesture. While maintaining the gesture, position your hand to align against the suspension system with your index finger parallel to the ground.
If your thumb and index finger touch the suspension, then the 30-degree slack requirement will have been met.
Even with other seemingly complex hammock suspension systems, the process boils down to the same steps as those above. Wrap the system around a tree, attach your hammock, and then test/tweak until perfection.
Some systems might be composed of webbing straps with daisy chains which are incredibly easy to install. Just wrap around a given tree using the looped end of the strap and feed the other end of the strap into the loop. Attach the hammock carabiner into any of the daisy chains then do the same for the other side.
If the hammock isn’t well-situated, simply reinsert the carabiners into the most suitable daisy chain until you have the right slack and height.
Other systems simply swap carabiners for other tools such as descender rings or cinch buckles, so the process doesn’t change much. However, if you opted for the whoopie sling system, the process might be a little challenging. Particularly, you may find adjusting the sling to have a slight learning curve.
A whoopie sling has three main parts including the fixed eye, the adjustable loop bury and tail/back splice, and the adjustable loop. Hanging your hammock using a whoopie sling suspension system follows three basic steps:
The bury section of the whoopie sling works exactly like the way those Chinese finger traps used to function. Therefore, you may want to pinch the top end or bottom end of the bury section when loosening or tightening the sling, respectively.
When done making your adjustments, you may also try “milking the bury” (straightening it out) to help the sling maintain the set tension and length.
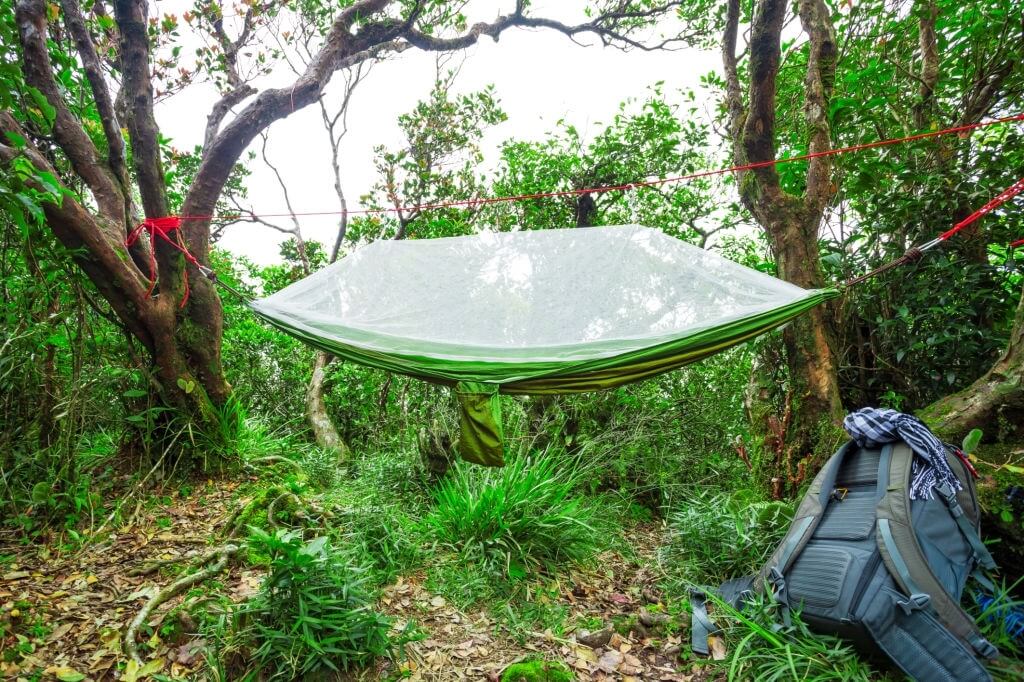
If your hammock comes with a structural ridgeline, then installing either a rainfly/tarp or bug netting will be a piece of cake. A ridgeline is particularly a necessity when it comes to gathered-end hammocks.
The ridgeline is simply a cord that is tied between either ends of a hammock. It also helps reduce the inevitable sag in a hammock. Setting up a rainfly or a tarp entails draping the fabric over the ridgeline and guying out the corners as needed. The same process also works for bug netting installations.
Even if you have your waterproof rainfly on, water might still get into the hammock via the suspension system. Therefore, you will want to try the following to help break the water streaming:
Additionally, when packing up, you can wrap the wet suspension system around and outside the stuff sack to keep the hammock dry. Or just pack the suspension system in a separate carry bag.
Related: The best Camping Hammocks (Compared).
Whether you’re for hammocks for their soothing rocking motions or their minimal environmental impact, learning how to hang a hammock is an essential rite of passage. As you might have noticed, setting up a hammock is not as grueling as pitching a tent.
Feel free to do some test runs in your backyard or at a nearby campsite to get a hang of it.
Also, keep in mind that sleeping diagonally in your hammock feels more comfortable and helps prevent the shoulder pinch issue. Folding the hammock in half also works wonders when using it as a seat. You will also want to wrap your ropes and guylines using either the “figure-8” or the “hand wrap” techniques to prevent tangles.
That said, we hope you have learned all that is to know about getting the right hang of your hammock.
Charlie Leone
Website Owner/Editor
Welcome to CampingManiacs