- Camping Tips
- Hiking Tips
- RV Camping
- Destinations
- Blog
- Gear Reviews
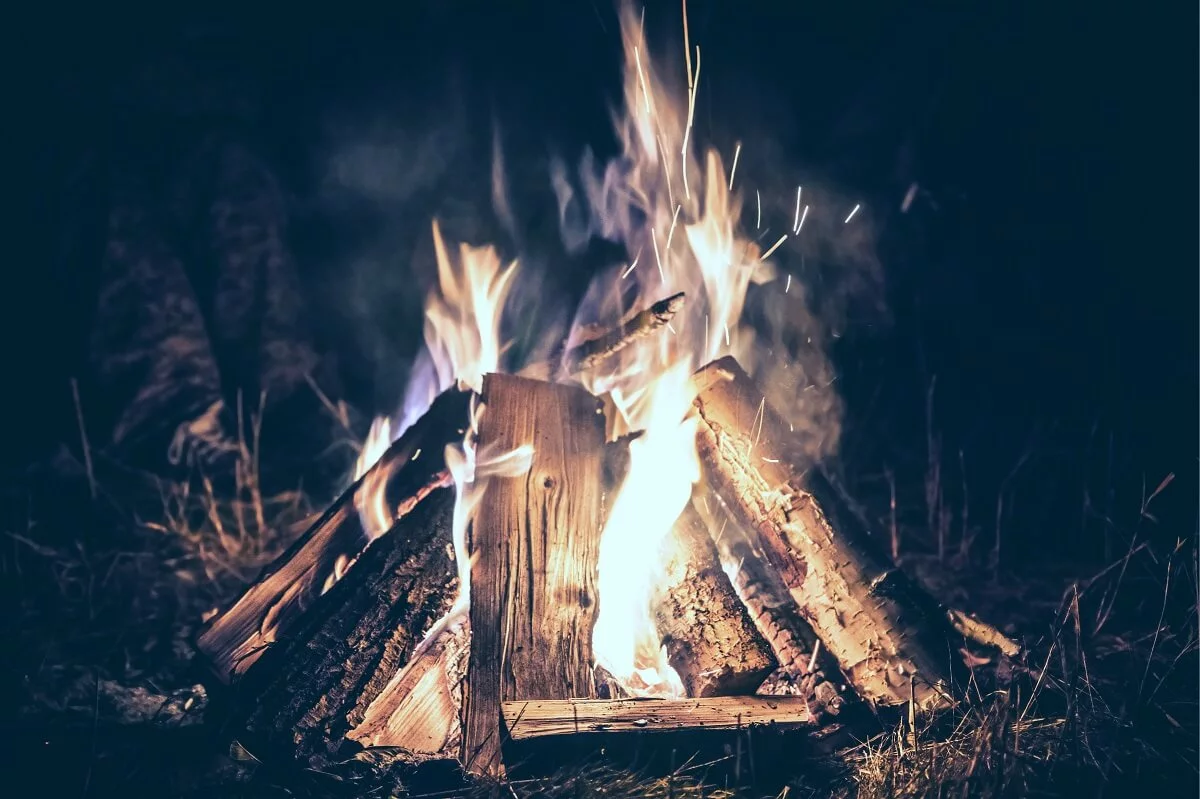
Campfires are the ideal centerpiece for riveting conversations among friends and family. Nothing comes close to nighttime campfires and just how effectively they keep us warm. Plus, marshmallows and s’mores are always a welcome treat.
Fires help keep off wildlife as animals instinctively stay away from bright light and heat. Additionally, campfires will give you some extra illumination as well as act as outdoor kitchens to cook your meals and purify your water over.
But for you to enjoy all these benefits, you must learn how to build a campfire the right way!
Before whipping out your gaslighter, make sure you have all the requirements and that you are aware of the campsite’s rules and regulations on firewood collection and campfire building.
You will need the following essentials to build your campfire:
By nature, fire is volatile and can decimate a whole forest into a pile of charred wood and ash in a matter of minutes. According to the U.S. Department of Interior, 90% of wildfires in the US are caused by people.
Such fires arise from campfires that have been left unattended as well as other acts of negligence.
To curb these incidents, most campgrounds and national parks have strict regulations on where to set up fire pits and rules on firewood collection. In developed campgrounds, campers are advised to use designated fire pits, rings, fireplaces or grills to reduce the impact on the environment.
Signages around the campsite or a quick consult with a ranger or campground operator/host is a good option to inform you if fires are permitted on the campsite. Even if you find a fire ring in place, there may still be restrictions on building fires or igniting certain materials.
You may be out of luck if camping in certain areas that are extremely dry or are experiencing drought. Fires may also not be permitted when winds are too strong as fly-away embers can easily start a wildfire.
Check around for signs on fire-danger levels that may be displayed on or near public lands, at ranger stations or along nearby roads. The National Fire Danger Rating System (NFDRS) levels indicate the likelihood of sparking up wildfires based on a variety of factors.
Low (Green), Moderate (Blue) and High (Yellow) indicators allow for controlled burns with the later restricting campfires to late evening and early morning hours. You should NEVER light any campfires when the indicators are on Very High (Orange) or Extreme (Red).
In other instances, you may be required to get a campfire permit from the agency that administers the land such as the Bureau of Land Management or the U.S. Forest Service.
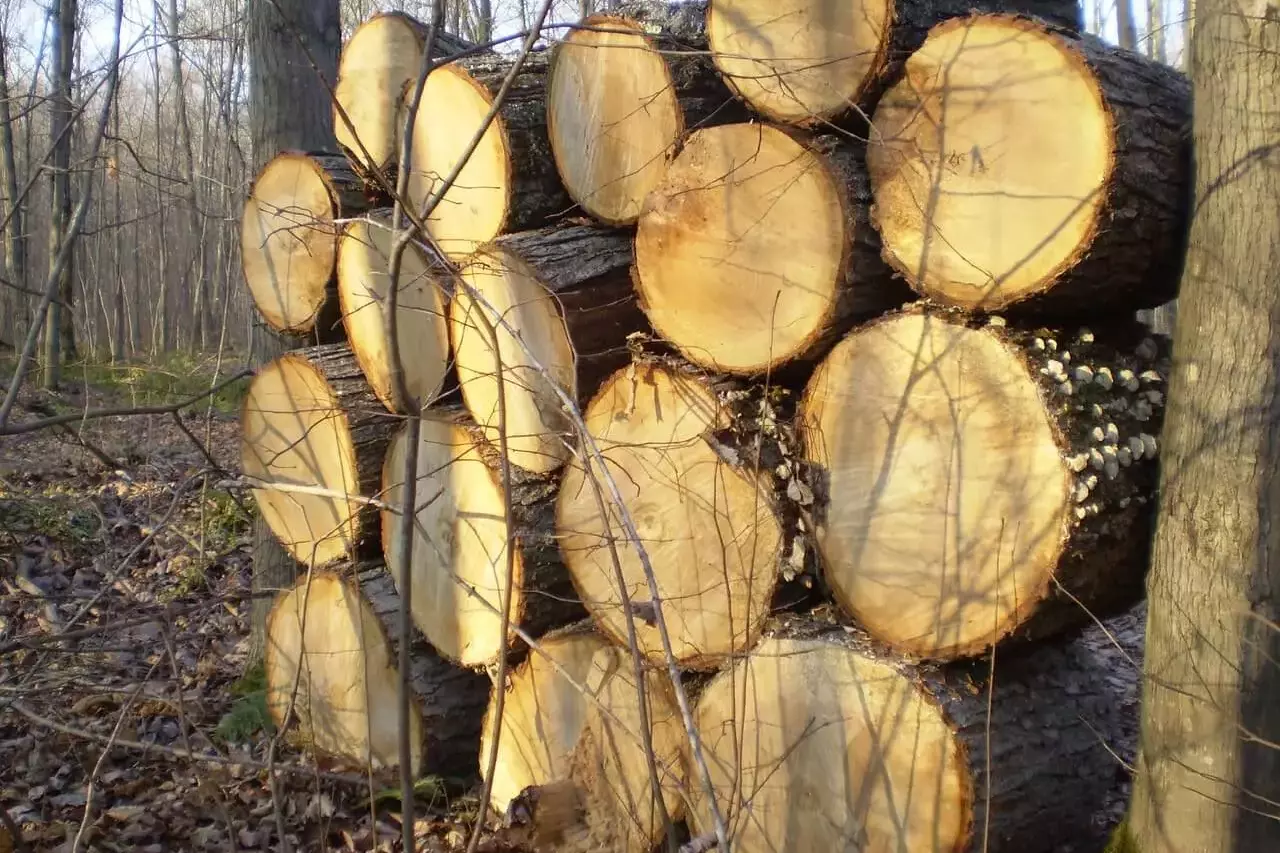
Bringing your own firewood is shunned and even banned in most campgrounds as it increases the risks of introducing foreign pesky insects and bugs to the forest or park. As such, just buy firewood from the local stores in the campground or gather from around the campsite.
When foraging for firewood, steer clear of dead standing trees as they are homes to birds and wildlife. Never cut branches or live trees. That said, you’ll need three types of firewood to start a fire namely; tinder, kindling, and fuelwood.
Tinder refers to the smallest fire-starting materials that burn fast and catch fire easily. You may bring tinder from home and ensure it’s dry before use.
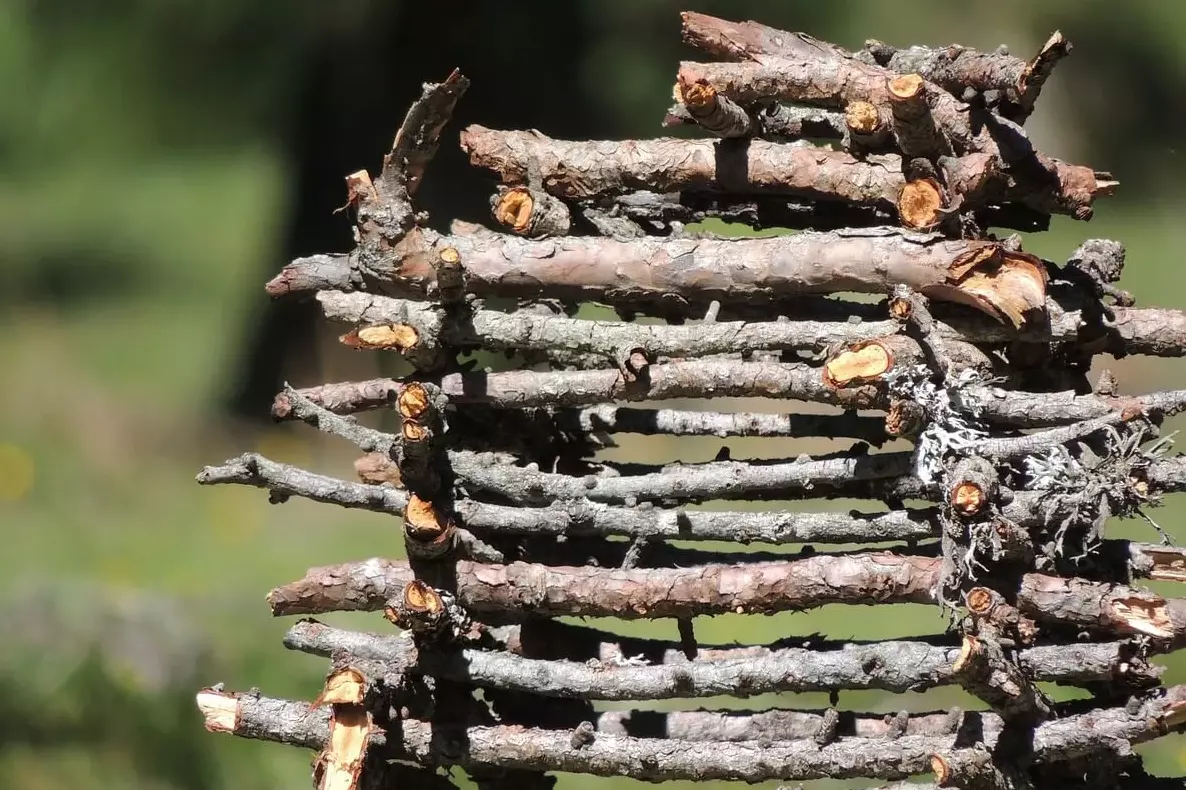
Some good options for tinder include cotton balls with petroleum jelly, wood shavings, dryer lint, wax, wadded paper, cardboard, char cloth, commercial fire sticks, small twigs, pine needles, dead grass, and dry leaves.
Kindling is slightly larger than tinder and helps in growing the flame. It may compose of one-inch thick sticks, small twigs, and branches. The kindling needs to be dry and can also be developed by whittling down larger branches and twigs using a pen knife or a camping hatchet.
Lastly, you will need fuelwood comprised of differently-sized logs and branches to keep the fire hot and going for hours. Avoid using fuelwood that’s too large as it will take longer to catch fire. Instead, go for branches and logs no wider than your forearm.
For safety, keep your supply of large pieces of wood stacked upwind and away from the fire.
Ideally, you want to go for the driest wood as it burns best. Else, you’re in for a very smoky campfire.
If your kindling of choice doesn’t break or snap easily, then it’s too wet to use for the campfire. However, damp fuelwood may be acceptable as it will be dried out by the fire.
Make sure to gather more tinder, kindling, and fuelwood than you need to prevent the fire from going out prematurely.
In areas where fires are permitted, always use an existing fireplace and only build a new one in emergencies and tear it down when done. Where there’s an existing fire pit or ring, make sure to clean before and after using it.
Where permitted, you may dig a new one as long as it’s at least 15 feet away from trees, tent walls, shrubs or anything else that could easily catch fire. The ideal spot for your fire bed should also be well protected against strong gushes of wind.
You should clear the area of any leaves, dead grass or other vegetation to form a 6- to 10-foot area of bare ground. Preferably, you want the fire base to be bare sand, gravel or soil but do keep in mind that too much heat may sterilize sites with fertile soils.
The pit should be at least one foot deep to avoid the risk of embers being blown away by the wind. Alternatively, you may go for a mound fire platform that is at least 6 to 8 inches high with a circular, flat base of bare soil.
A buffer or firewall can be made around the fire by placing the dug-up soil in a mounded ring and large rocks around the pit. The firewall will insulate the fire and protect people from stumbling into the fire.
ALWAYS have a bucket of water and a shovel to help extinguish the fire in case of emergencies!
Building and maintaining the campfire isn’t as simple as simply setting alight some wood and sticks. It takes some structuring on how to lay your types of firewood, which further determines the longevity of the fire and overall purpose.
Some types of fire lays will go all night, some are best for cooking while others are built to be nicely hidden from sight without losing effectiveness. Regardless of your fire lay method, you will still start the fire conventionally by lighting up tinder to burn the kindling then the fuelwood.
The teepee method is very easy to make and popular as it burns fast. You simply lay some kindling over the tinder on your fire bed as if building a tent. Leave a small gap to let in air and for lighting up the bundle.
The fuelwood is gradually added on top of the kindling base while ensuring the thicker ends of the wood remain at the bottom.
The biggest downside to this method is that it requires a lot of attention and fuel, however, it’s the perfect setup to cook your meals over.
Start by sticking a long piece of kindling into the fire bed at a slanted angle with the end of the stick pointing into the wind. Then place a tinder bundle underneath it and place some kindling around the tinder nest.
Lean some more kindling against the longer piece and light up the tinder nest. Add your fuelwood as the fire slowly builds up.
Alternatively, you can use a small log as the lean-to and add some tinder next to it. Then, prop your kindling against the log starting with small sizes to bigger ones. The good thing about this approach is that when the log does catch fire, the fire will be strong enough to withstand the winds.
The base of this type of fire starts with a tinder bundle with teepee-ed kindling then continues as if building an actual log cabin.
Place two large pieces of wood parallel to each other on opposite sides of your teepee base. Then, place two slightly smaller pieces on top at 90 degrees to form a square. Continue layering up your “cabin” with increasingly smaller pieces of wood while ensuring there’s tinder inside the square.
Top of the fire lay with kindling and a tinder bundle across the top and lastly check if there’s enough space between the fuelwood so that fire can get plenty of air.
Alike the log cabin method, start with large logs at the base positioned parallel to each other. Then, pile another layer atop perpendicular to the bottom layer and with slightly smaller logs.
While each layer may include 3-5 logs, ensure there’s enough spacing to let air (oxygen) for easier burning. The very top layer will have a teepee fire lay of kindling and tinder such that once lit, the fire will self-feed itself and burn for longer periods.
Upside-down campfires use more firewood and may have taller fires as compared to other methods. So, you may want to start with a few layers to reduce wildfire risks.
These two types are fairly similar as they are both low-maintenance, long-lasting and structured alike.
Star fire lays have a teepee fire at the center with fuelwood placed around it. With one end in the flames, the wood is pushed towards the center as it is consumed.
A clever way to get around this hurdle is to have your teepee fire in a small hole. That way, the fuelwood slides in gradually due to gravity. On the other hand, the Cross fire lay entails crisscrossing fuelwood and kindling over the tinder nest.
The small flame produced by either of the two methods consumes less fuel allowing the campfire to push through for longer hours.
The Swedish Torch is a slightly less practical way to get a campfire going due to the equipment needed to build it. The only reason you’d want to consider this is when the grounds are wet, you don’t have a lot of firewood, and you just so happen to have a split log.
The idea is simple; split a dry log halfway into four quadrants using an ax or chainsaw and start a fire in the middle with some tinder and kindling. The log should be standing upright and ideally, it should burn slowly down from the inside.
The Swedish Torch is perfect for a solo camper and can be a great temporary stove to cook your meals or boil water.
Got some calories to burn? The Dakota Fire Hole is arguably the most laborious fire lay to set up. It requires digging of two holes, one straight down and another diagonal one connecting to the first.
The connecting tunnel allows for airflow and provides a space to feed your fire. You may construct a firmer platform over the first hole to support the cooking of meals. The resulting fire is very efficient and well-aerated allowing for a smokeless campfire.
A slight variation to this is the Snake Hole method where you dig the holes in the side of a hill or other inclined terrains.
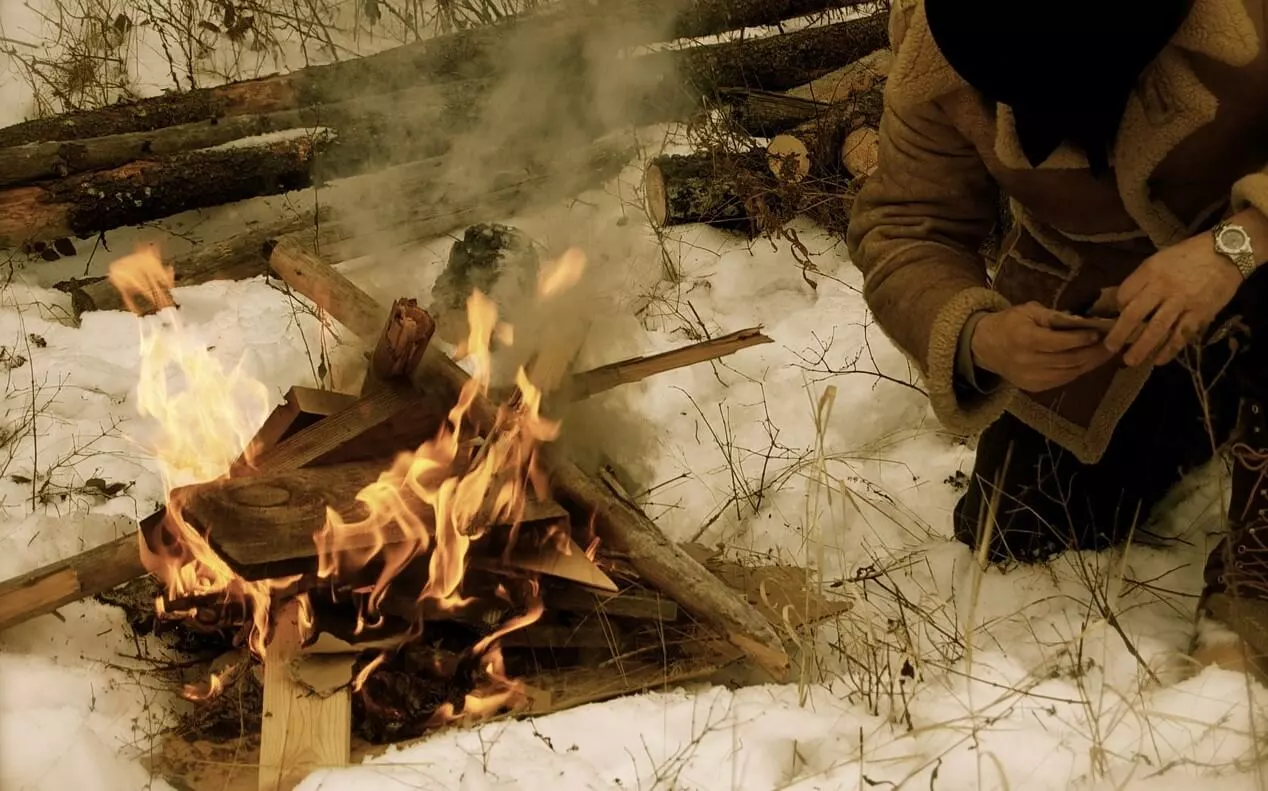
If you haven’t set your tinder nest ablaze already then this is your last call. There’s no magic to lighting up your campfire; light the tinder then the rest will burn accordingly. However, your choice of fire starters may make or break your campfire building experience.
Depending on the fire lay method, you may want to light the tinder and wait till you have a healthy frame in the kindling before adding your fuelwood.
If you have time, you may make your fire using archaic methods like the hand drill, fire plow or bow drill. However, lens-based methods can be nice to try out during hot days while spark-based fire-making techniques will do for any weather.
You can never go wrong with the classic flint and steel fire starters. Plus, if you want to fast-track the fire building, do so by blowing at the base of your tinder nest.
As the fire rages on, keep it at controllable levels and if need be, add kindling and fuelwood to maintain it. Then, comes the big finish – extinguishing the fire properly.
Once you’re done with your fire, you will need to put it out completely. We advise that you plan accordingly for this crucial step. Plan when you want to head out or go to bed and start extinguishing the fire 20-30 minutes before then.
Start by sprinkling, not pouring, as much water as needed to put out the charcoals and embers. Remember, you or someone else may need to use the pit later so don’t flood it. Instead, use a shovel or a stick to stir the embers out.
If you notice any steam or hear hissing noises then you are not yet close to putting out the fire.
Next, you do the “touch test”. This does not mean touching the ashes since there may still be some hot embers present. Instead, place your hand slightly near the ashes and if it feels hot then add more water and keep on stirring.
Perform the touch test until it feels cool and lastly, make sure to leave the land as you found it. That means patching up any holes you may have dug and disposing of the ashes properly.
To recap; plan to extinguish the fire ahead of time, sprinkle some water on the fire, stir the embers out, perform the touch test, and Leave No Trace!
Statistics have shown that what usually starts as a simple campfire may decimate a whole forest! Thus, the overriding principle in dealing with campfires is to prevent possible incendiary situations.
As Smokey Bear best put it “Only you can prevent forest fires”, so practice campfire safety at all times for your sake and the environment’s. You may also want to practice building a campfire at home using the many fire lay methods mentioned above for better preparedness.
Lastly, clean up after yourself by clearing out any charcoal and ashes left, and spreading around a distant and broad area at the campsite.
Don’t forget to patch up the fire bed you’d dug by replacing the dirt/sod and dismantle any structures you may have built.
Charlie Leone
Website Owner/Editor
Welcome to CampingManiacs