- Camping Tips
- Hiking Tips
- RV Camping
- Destinations
- Blog
- Gear Reviews
Tents cost about $40 to over $500 depending on size, style and a myriad of other factors. Given their significant price tags, it is justifiable to expect the tents to be durable and capable of resisting the elements. Even then, without proper tent care, your tent won’t serve you for long or even as expected.
Unlike your demanding abode back in civilization, a little care and attention go a long way in getting the most value out of your tent. To prolong the life of your tent, you’ll need to care for it and maintain it prior, during and after its use.
Have a look at the following fool-proof tips to help you properly take care of your outdoorsy home.
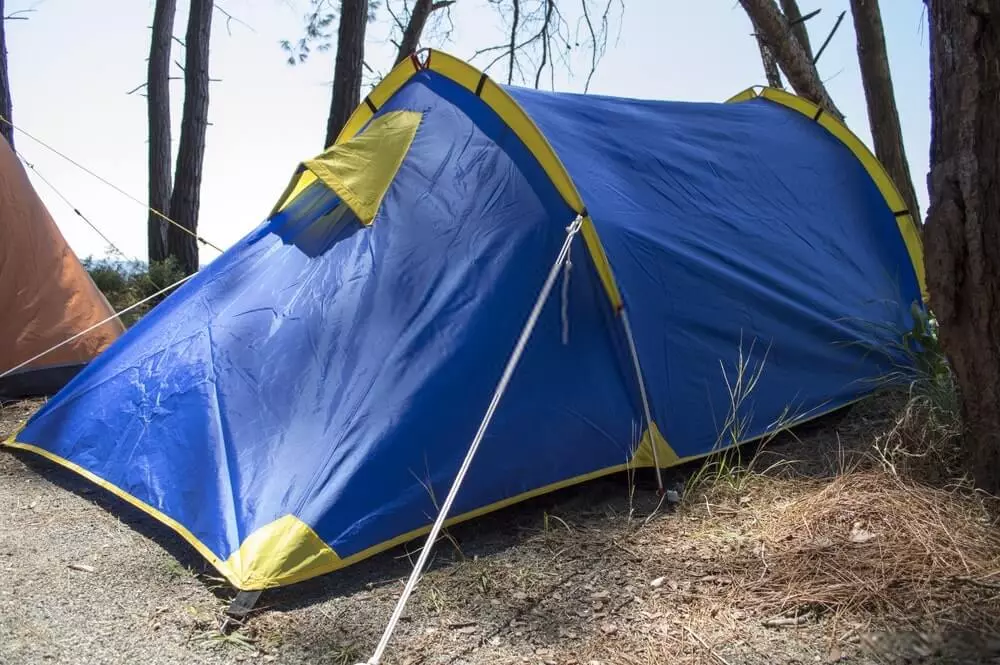
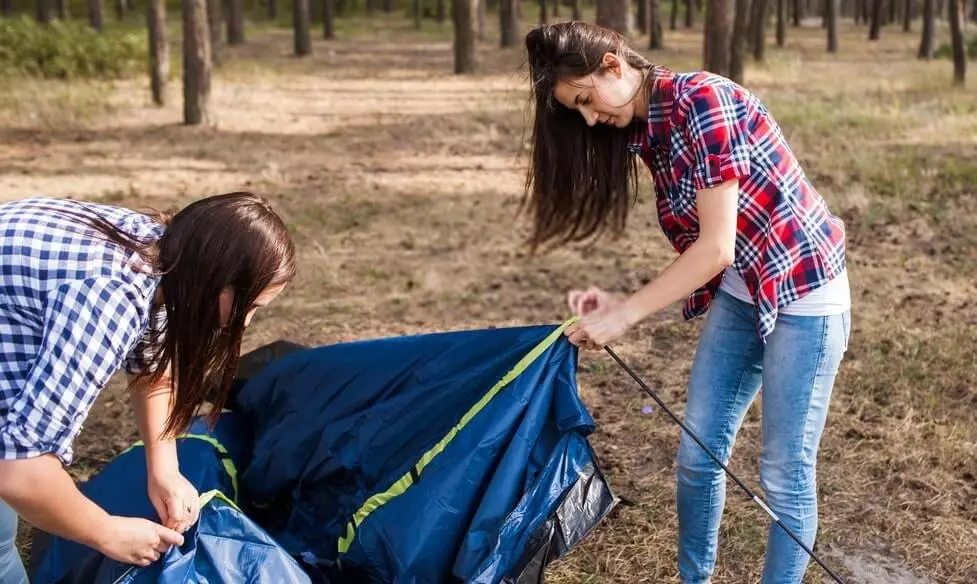
It kicks off with identifying ideal grounds to pitch the tent in the campground. A tent pitching run in your backyard is also considered good practice and highly recommended before setting out to camp.
That aside, you should go for smooth level grounds where water can’t pool, and away from rocks, vegetation, and low-hanging branches to avoid snags. You may also be needed to clear any debris on the identified ground thus you always go for established campsites instead of building up new ones.
Tent footprints should be part of your gear as they help reduce the abrasion between the ground and the tent floor. If using a tarp or basic groundsheet, make sure to tuck the excess material under the tent floor to avoid water seepage.
Another silent threat to the life of your tent is ultraviolet rays from the sun. UV rays degrade the material in the tent and rainfly. Hence, you must avoid leaving the tent in direct sunlight over extended hours.
Keep in mind that polyester fabrics do better than nylon ones in terms of UV resistance.
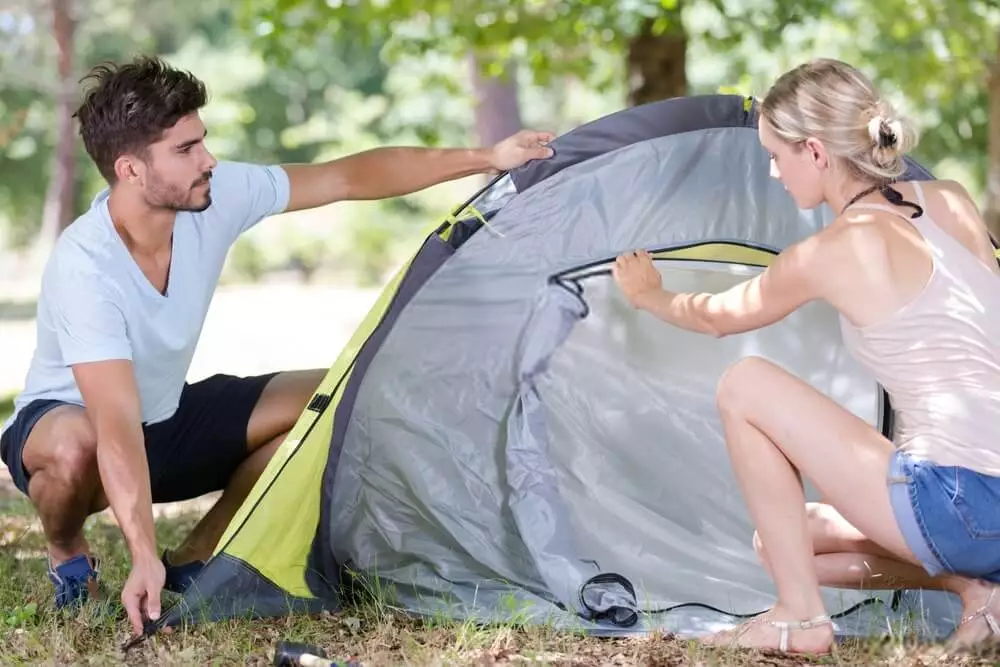
Lastly, follow the manufacturer’s instructions on inserting the tent poles to avoid breaking them or ripping the tent fabric. Always double check if the whole setup is taut and that everything is correctly inserted.
Leave your boots outside! The last thing you want in your minimalist sleeping space is dirt, sand, and pebbles. Such grit can puncture your tent and is just a mess to clean up. Alternatively, you can keep the boots in a box.
Zipper repairs will quickly become routine if you are too rough on them. Take extra caution when dealing with stuck or split zippers instead of yanking them into submission. Stuck zippers can be resolved through a couple of ingenious ways:
In case your zipper splits, gently move it back until it re-engages and if that doesn’t work then a pair of pliers will come in handy. Using the pliers, slightly pinch the zipper slider to enable it to hold on the zipper.
As much as your dog makes for a good camping buddy, their claws and teeth can wreak havoc on your precious tent. Therefore, never leave your pets inside the tent unsupervised or else you’ll be in for some cold nights.
Lastly, scents from food or fragrant personal products will easily attract little critters or even bears, who can be a serious threat to you and your tent. Bears will tear into the tent while small creatures will chew into the tent’s fabric in search of grub.
Related: The best camping tents (according to outdoor experts).
The biggest takeaway here is that whenever possible, you should always leave the campsite with a clean tent. So, be sure to pack a soft brush to help with the cleaning.
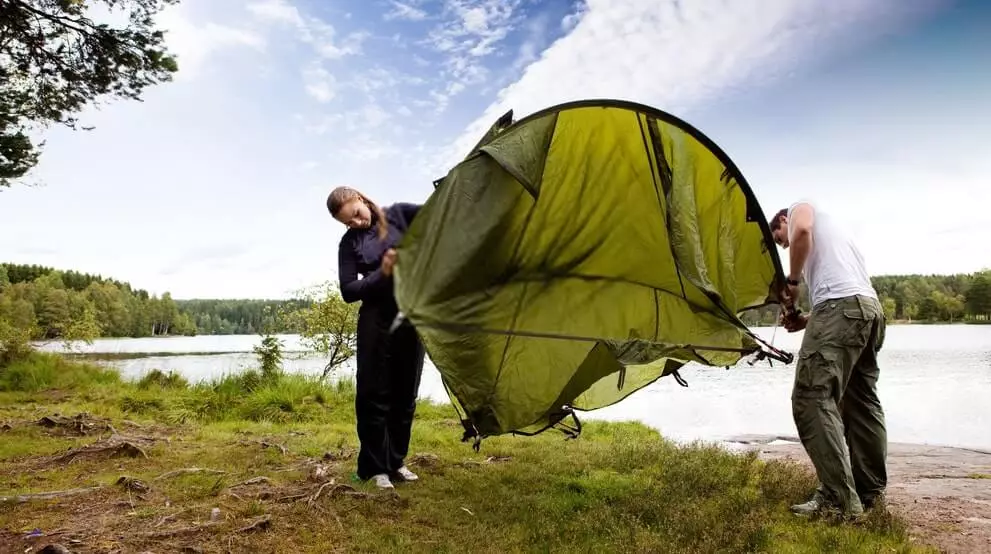
First, remove any trash then take off the stakes and thoroughly shake the tent to get rid of dirt and debris. Next, cautiously take out the poles. To minimize adding too much stress on the elastic cords, push the poles out instead of pulling at them.
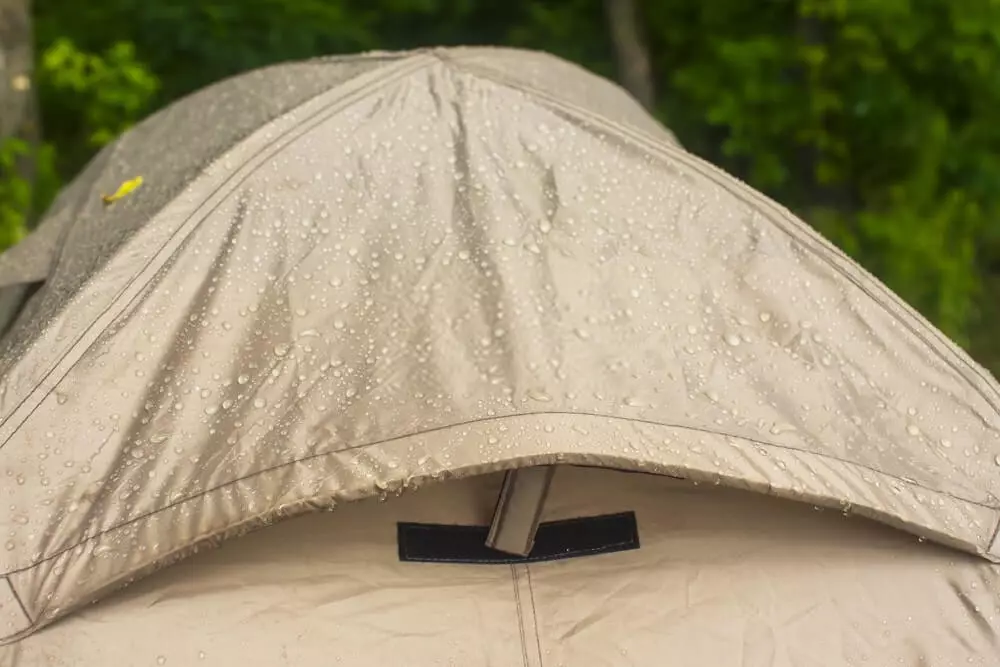
It’s quite common for the tent to accumulate moisture due to condensation so be sure to dry it off before packing it away. This can be done by draping it over a boulder, a bush or a branch while taking care not to snag or poke the fabric.
What if you’re camping in wet conditions? Sure, you don’t have to fret over getting the tent dry every time before hitting the trails. However, make sure to dry it out when you get back home in your backyard when it’s sunny or in the garage.
Before packing the tent away, confirm that all zips are closed as the teeth may damage the fabric.
The last step here is to roll up or fold the tent rather than stuffing it into your stuff sack to protect the fabric and coating from damage. Equally important, always pack the stakes and poles separately to prevent tearing the fabric.
Getting back to reality – home – after an adventurous and therapeutic camping trip isn’t always something to look forward to but hey you can always take it as downtime till the next trip.
How you store your camping gear will greatly influence the experience of your next trip and more so, the life of your equipment. Before you tuck away your tent in the attic, make sure it is clean and dry to prevent mold and mildew growth.
Air-dry your tent over a clothesline in the garage or in a non-carpeted room. Alternatively, you can also drape it or pitch it in case of limited space.
While most people will choose the compact stuff sack as a way to store the tent, it is not always the most effective. Primarily, you want the canvas to aerate without gathering any moisture thus always store your tent loosely and in a cool, dry place.
Hot spots like the basement, the car trunk, and the attic are also poor storage options as the heat may damage the fabric. A good option is to store the dry tent in a sealed plastic bin or container to keep out any moisture.
Cotton bags are also good storage options as they ventilate better than synthetic options.
Keep in mind that, prolonged exposure to moisture will not only give the tent a musty odor but also damage any polyurethane waterproofing coatings. You will want to replace your tent ASAP if it ever becomes flaky, smelly or tacky.
Whether your tent is made of 100% cotton or synthetic materials, you must always keep it clean and in tip-top shape. Any whiff of a funky odor or visible stains on the tent fabric is a clear indicator that deep cleaning is long overdue.
Supplies necessary for cleaning your tent include; non-abrasive sponge or cloth, cold to lukewarm water, non-detergent soap, bathtub or pail, and specialized cleaner for outdoor gear.
Perfumed household soaps should be avoided at all costs as they wear off the durable water repellent (DWR) coating and further may attract rodents, insects and other critters.
Start with a spot cleaning to get rid of the stains that may have been a result of exposure to grit, fine dust, tree sap or bird droppings. Gently scrub stained spots by hand while being extra careful on the coated regions of the tent.
Mineral oil and alcohol-based products like wet wipes and hand sanitizers can be very effective in cleaning pine sap stains. After the sap has been removed, rinse off the tent thoroughly with water.
If your tent already has mold and mildew spawning from it, then some deep cleaning may be in order. Bio-enzymatic cleaners are very effective in cleaning off such fungi, just make sure to follow instructions carefully else you might damage the tent.
Lastly, rinse off the tent until no suds or stains are present then air-dry it out as aforementioned.
NEVER machine-wash/dry your tent as the machines have agitators that may tear or stretch the tent fabric. The heat generated by dryers will also be detrimental to your precious tent.
Re-waterproofing and general repairs of the tent need to be carried out now and then to prolong the tent’s life and improve performance.
It’s always advisable to be well-prepared when going on your camping trip as you are bound to face challenges such as bent or broken poles, split seams, rips, punctures or tears in the tent fabric.
Having a spare tent pole with you will save you lots of inconveniences trying to get a replacement.
Self-adhesive patches, gaffer tape, and sealants can help take care of the tears in the fabric and split seams.
A small portable sewing kit paired with some sewing skills can also come in handy.
Ideally, you should always carry a repair kit with you at all times containing all or some of the following items:
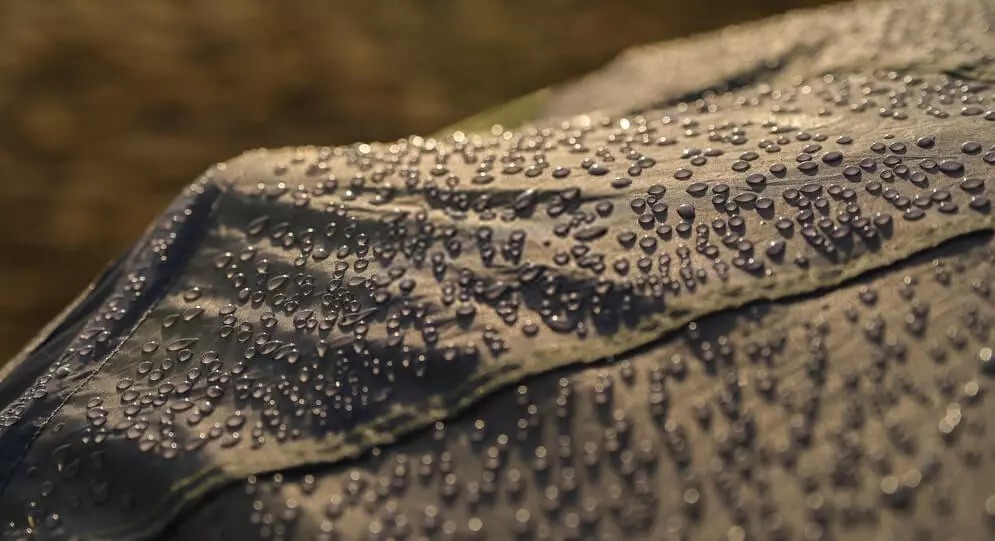
Generally, the waterproof coating on your tent will degrade over time due to sun damage, wear and tear or worn-out seams. If your tent starts leaking or the waterproof coatings begin to flake off, it’s time to re-waterproof your gear.
Keep in mind that water beading at the inside of the tent roof is not always a sign of leakage and might simply be a result of condensation.
Typically, there are three ways to re-waterproof your tent which includes seam sealing, revamping the urethane coating and renewing the DWR coating. Notably, different types of tent materials require specific sealants and coatings. As such, always check with the manufacturer for the recommended options.
Surprisingly, canvas or polycotton tents need to get wet to become more waterproof. The magic behind this is that the weaving will tighten up once wet and in effect closing any holes in the fabric.
To partake in this exercise, first, you need to identify the problematic area since applying the treatment to the entire tent will be very expensive. Also, the perfect day to re-waterproof your tent is preferably on a warm, dry day.
That said, now you can either pitch your clean tent or spread it out on a flat surface.
Follow the instructions on the waterproofing product keenly as it may require the tent to be either dry or wet for application. If a dry-application is advised, make sure the tent is dirt-free and dry before applying the treatment.
Gently clean the seams with a piece of cloth and some rubbing alcohol and apply the new seam sealer to the affected section. It’s also advisable to apply the sealer to the other seams as they may not be far off from leaking.
Leave the seam sealer to dry off completely.
When it comes to rejuvenating the urethane coating, make sure you have some rubbing alcohol, the tent sealant, and an abrasive sponge. Scrub off the flakes of the previous coating and clean the section with a sponge/rag and rubbing alcohol.
Then apply a thin coating to the section following the instructions on the sealant container and leave to dry for about 24 hours before stowing the tent away.
The process of applying the DWR coating is also very similar to that of the urethane sealant and further, the product will have specific instructions of use.
Like most things, tents will need to be taken care of to guarantee maximum longevity and relaxed camping. Always remember the tent care ABCs i.e. Always follow the instructions, Be extra gentle with the poles and zippers and Clean the tent occasionally and never store it wet.
With such basic tent care practices and routine maintenance, you’ll get even more nights at your favorite national park or campground.
Charlie Leone
Website Owner/Editor
Welcome to CampingManiacs